Understanding your lead process in Salesforce allows you to better manage your leads.
Lead processes use the lead status to identify a lead within the lead lifecycle. And with that in place, you can create set actions to help nurture and develop your leads.
How to find your lead processes in Salesforce
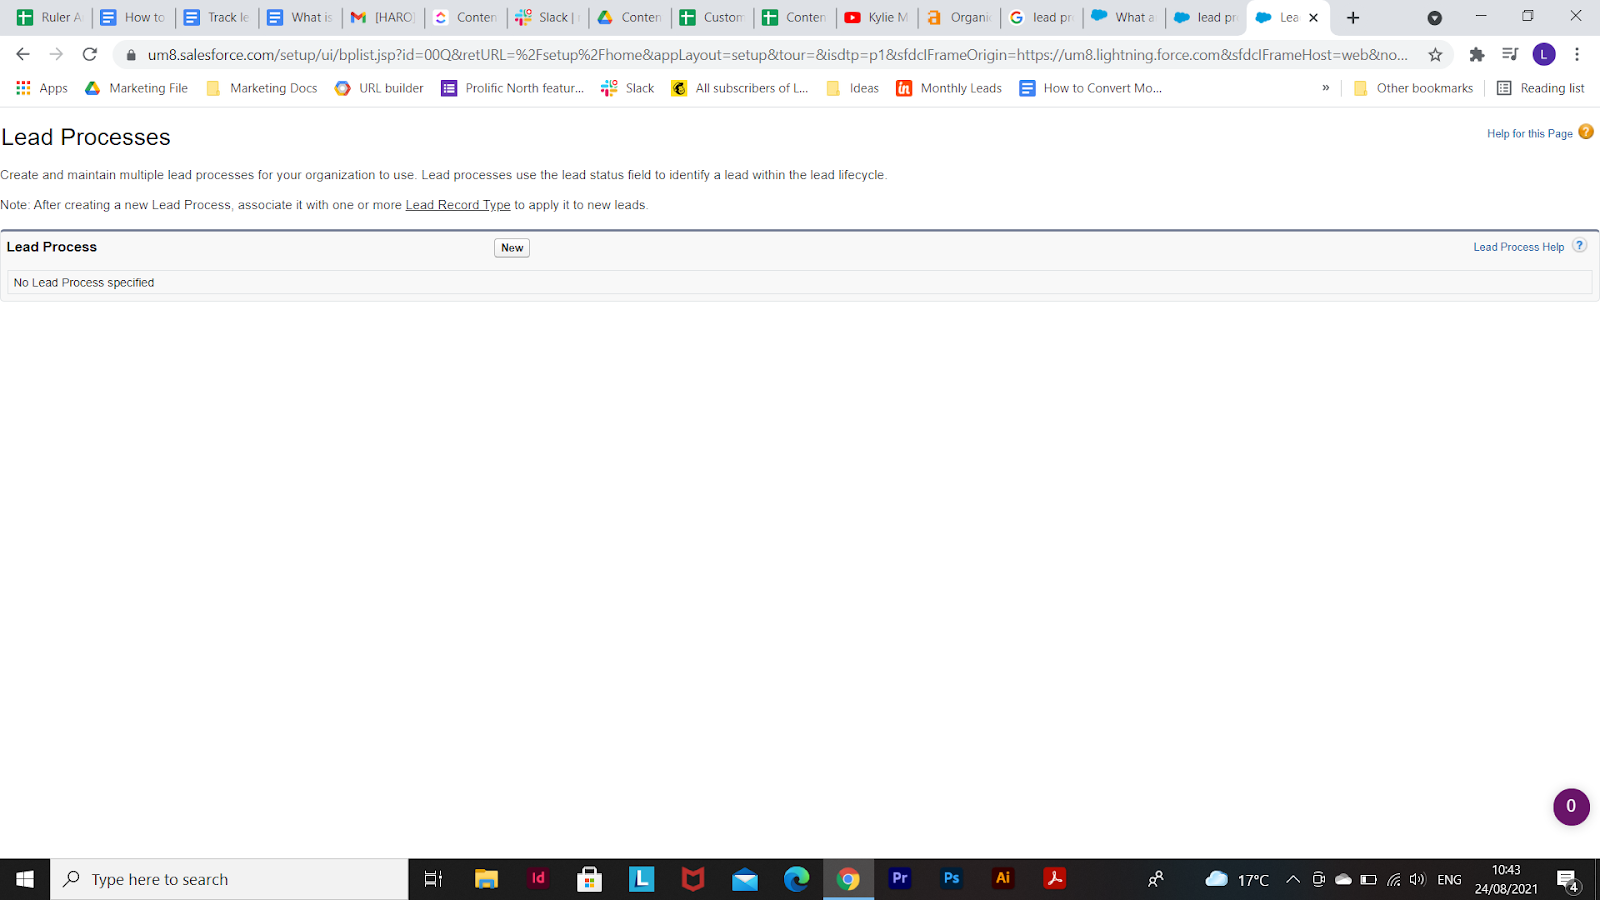
Head to the Setup button, a gear icon, in the top right hand corner. Under Platform Tools, select Feature Settings. Open the Marketing drop-down and you can see Lead Processes. Click this and a new window will open.

Here, you can create new lead processes, and edit existing ones.
Setting up lead processes in Salesforce
Lead processes in Salesforce allow you to create tailored journeys based on the stage a lead is in.
By creating new lead processes, you can customize the content and communication a lead receives specific to their lead status. To set up your lead process, you need to do the following:
1. Create the lead statuses needed in the lead process. To add your own lead statuses, head to Object Manager > Lead. There, select Fields & Relationships and then Lead Status. From there, scroll to Lead Status Picklist Values and select New
2. Create and name a new lead process in setup. Select which lead status you want to target in that particular process.
3. Create a record type for the sales process. Record types link the sales process to the page layout that goes with it.
How to get more data on your leads?
Data is the greatest commodity for a marketer. And for marketers using Salesforce, that’s no exception.
But there can be issues with feeding certain types of data app to app. Remember, your website only passes some data through to your Salesforce CRM, and your CRM only passes some data through to your reporting apps.
With a marketing attribution tool, you can fire all the data you need, to where you need it most.
Ruler Analytics is the perfect tool for:
- Finding the true lead source
- Gathering a full customer journey for each and every lead
- Tracking leads offline
Here’s how it works.
1. Track leads from their first to final touchpoint
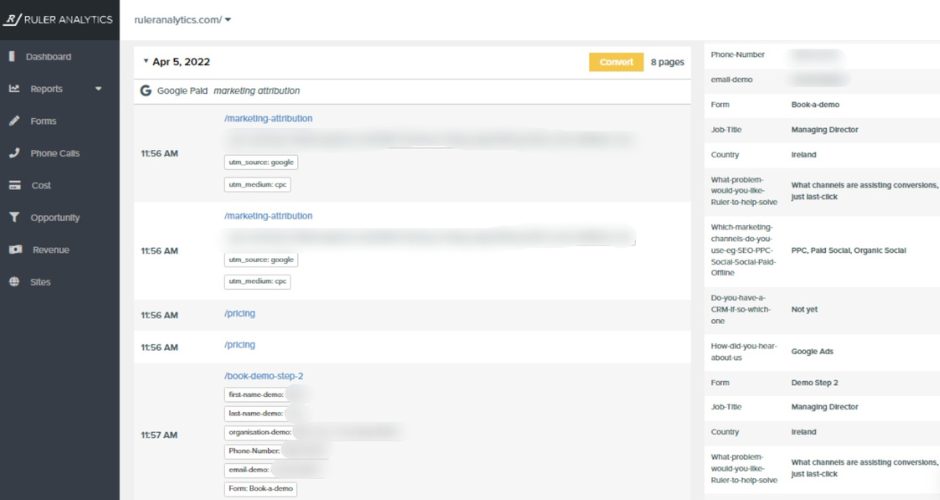
With Ruler Analytics in place, you can track leads through their full customer journey.
Related: How to view full customer journeys with Ruler

Ruler will track anonymous visitors to your website. Every time that visitor revisits, Ruler will scrape their source and other key lead data.
At the point of conversion, whether that’s by phone, form or live chat, Ruler Analytics will fire all of the lead data over to Salesforce.
Related: How does Ruler enrich Salesforce with attribution data?

And it doesn’t stop there, Ruler will continue to track that visitor, compiling their customer journey right in the Ruler dashboard.
2. Send revenue from your CRM to your reporting apps
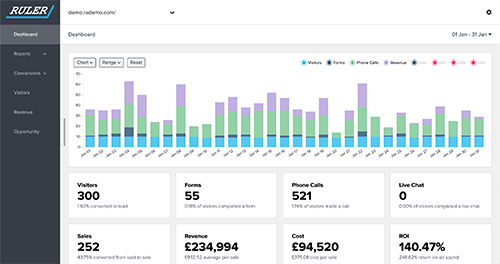
Ever wondered how you can easily and definitively prove marketing ROI? With Ruler, this becomes an automatic part of your everyday reporting.
While Ruler is tracking your visitors and sending data to your CRM, it’s also scraping the revenue data of closed customers.
Related: How does Ruler attribute revenue to marketing?

It fires the revenue data back to it's dashboard and other tools like Google Analytics and Facebook Business Manager where it automatically attributes it back to the relevant campaign, ad and even keyword.
Interested in learning more?
If you want to learn more about how Ruler can support you in how your team uses Salesforce, then contact our team. Ruler is the perfect tool to add to your marketing arsenal.
With it, you’ll get greater visibility of what’s working in your business, and what isn’t. It’ll give you the power to scale profitability.
If you don't believe us, read our blog on the benefits of Ruler Analytics or book a demo and see it in action for yourself.
Related articles:
Connecting Salesforce CRM revenue data with Google Analytics
Salesforce’s Web-to-Lead Forms: A complete guide
All you need to know about Salesforce multi-touch attribution
How to track leads in Salesforce and view your original source
Add lead source to Salesforce and attribute marketing revenue

